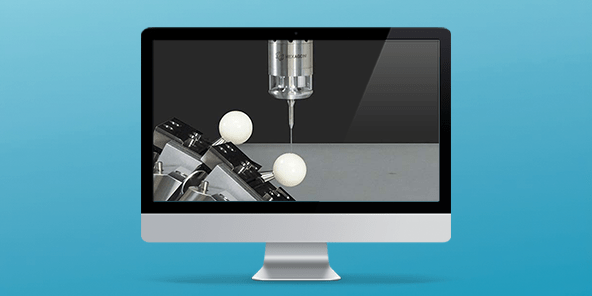
Kinematic errors should be promptly identified and fixed. To examine the kinematic behavior of the fourth and fifth axes on milling machines, use CheckSet5. Examine the machine’s precise condition and use the data gathered to modify the centers of rotation. The groundwork for automated production is thus laid.
CheckSet5, which is based on NC Gage’s Teach-In technology, is simple to use and requires no prior understanding of macro programming. A straightforward menu and a few clicks can transfer correction parameters with ease, and the machine’s kinematic performance is well documented.
CheckSet5 enables the use of kinematic data for various statistical analyses as part of Connected Probing.
Features & Benefits
Quickly check or set up rotational axes
With only a few easy steps, you can find the center of rotational axes and measure their performance.
Immediately determine whether the machine’s performance has altered as a result of collisions or environmental changes.
AccuVectorQual
Any probing method can provide a precise measurement, negating the requirement for an expensive strain gauge probe. Errors in the probing system can be fixed for all probing directions by mapping deviations at different 3D probing directions.
Functioning without the use of macro knowledge
Flexible system setup and use are made possible by an innovative teach-in technique and interactive operation that eliminates the need to change or design any macros.Full solution with direct data transmission included.
