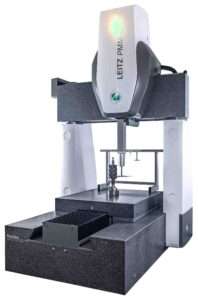
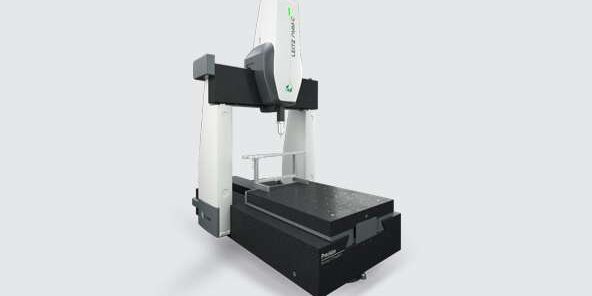
Leitz PMM-C CMMs are high-end, highly accurate metrology instruments designed to meet the most demanding inspection specifications across various precision applications, providing quick and ultra-high accuracy readings. The latest generation of these machines boasts unique configurations and capabilities tailored to meet the specific needs of each application, ensuring outstanding accuracy throughout the series.
The Precision and Flexibility base versions cater to applications that require both high sensor flexibility and extremely tight form tolerances. The Leitz PMM-C Precision model utilizes ultra-high precision fixed probe heads, offering exceptional measurement capabilities. This model excels in lengthy or multi-styly setups, delivering high repeatability and measurement accuracy, whether for quick single-point probing or variable high-speed scanning processes.

Features and Benefits
Closed-Frame Layout
The fixed entrance and granite base ensure long-term stability. The high rigidity of the measurement axis guarantees consistent accuracy throughout the measuring volume.
Table in Motion
An effective and precise traveling measuring table on pre-loaded air bearings ensures stable dimensional relationships and prevents tilting or twisting during movement.
Conserve Energy and Air
Eco Mode+ reduces the use of compressed air, contributing to a more sustainable future. It minimizes total air consumption during standard measuring procedures and can save up to 100% of compressed air when the machine is not in use.
Lights for Messaging
Stay informed about the CMM’s actions. The machine’s messaging lights provide a quick way to monitor its working state.
Fast Speed and Security
Two 2D laser scanners provide monitoring, ensuring worry-free high-speed measurements in CNC mode. When a user or object enters the protected area, the machine will automatically stop.
High Precision and Speed
Fast measurements are supported by servo drives equipped with recirculating ball screws. The CMM can achieve high speeds even with small movement pathways, as it accelerates quickly without compromising positional precision.
Sweet Spot (Combination of Accuracy+)
Achieve the highest levels of accuracy when measuring features or small parts with extremely tight tolerances, utilizing only a small portion of the available measurement volume.
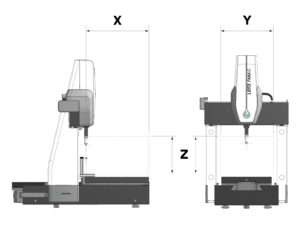
Measuring volume

| Type | X (Width) | Y (Depth) | Z (Height) |
| 7.7.5 | 700 mm | 700 mm | 500 mm |
| 10.7.6 | 1000 mm | 700 mm | 600 mm |
| 12.10.7 | 1200 mm | 1000 mm | 700 mm |
| 16.12.10 | 1600 mm | 1200 mm | 1000 mm |
| 24.12.10 | 2400 mm | 1200 mm | 1000 mm |
| 24.16.10 | 2400 mm | 1600 mm | 1000 mm |
